The Latest
Sixfigure Mindset Free Trainings
·

Virtual Assistant History Looking Back
·

How Carla Found the Perfect Name for Her Dental Office
·

Linkedin Deleted: What to do?
·

YOLO -nope.
·
100K followers on YouTube
·

2025 Free Life Insurance on Deposit Accounts in the Philippines
·

My Study Bible Ignored John 20, so I became Catholic…!?
·

Don’t learn AI because you’ll just get fired…
·

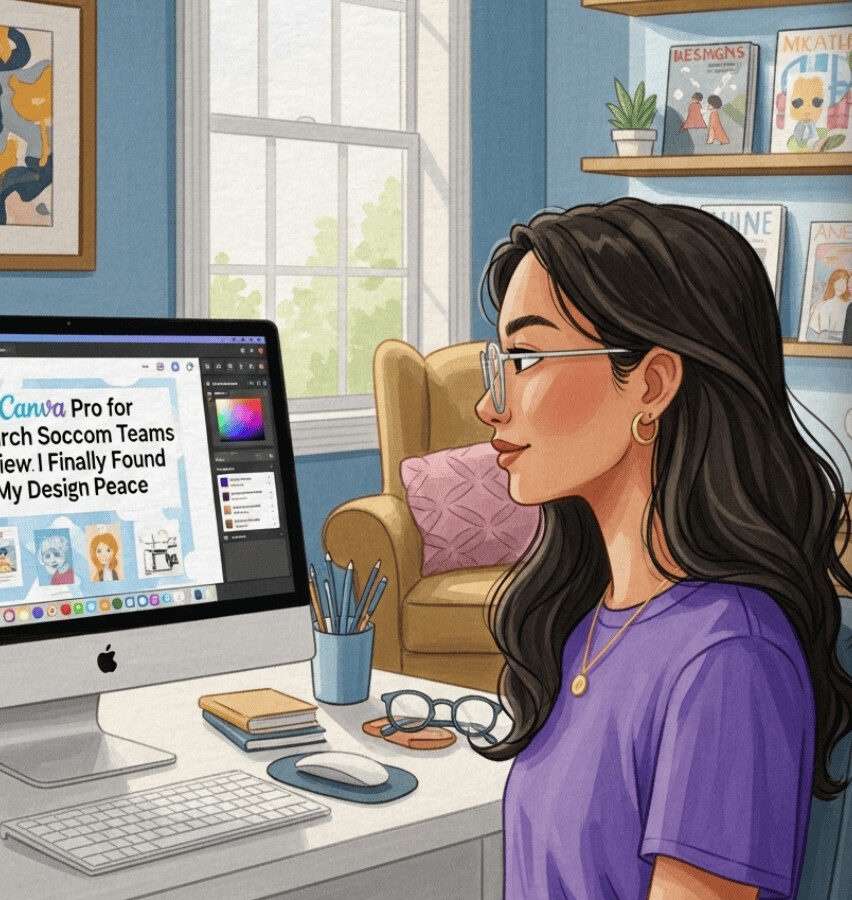
Canva Pro for Church Soccom Teams Review: How I Finally Found My Design Peace
·

Q: Doing the Social Media for Church. Tips? Pitfalls?
·

Virtual Pro to Global Business
·